Getting Started
Create an Account
Signing Up on the Endura Platform
To begin using the Endura platform, follow these steps to sign up and create your account:
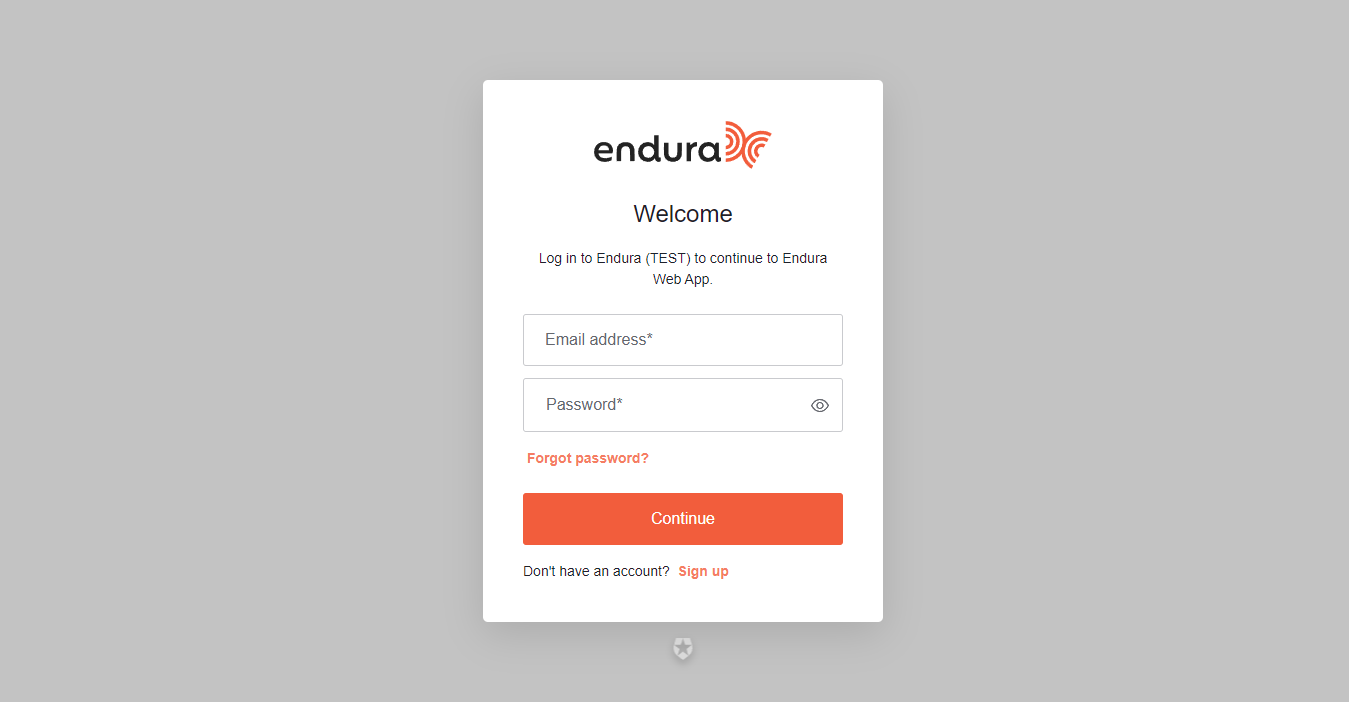
Step 1: Access the Sign-Up Page
- Navigate to the Login Page: Open your web browser and go to the Endura login page.
- Select "Sign Up": On the login page, locate and click the "Sign Up" button to start the registration process.
Step 2: Enter Your Details
- Provide Your Email Address: On the sign-up page, enter a valid email address that you would like to use for your Endura account.
- Create a Password: Enter a strong password that meets the following criteria: Minimum of 8 characters. Include at least 3 of the following: Lower case letters (a-z) Upper case letters (A-Z) Numbers (0-9) Special characters (e.g., !@#$%^&*)
Step 3: Verify Your Account
- Submit Your Details: After entering your email and creating a password, click the "Continue" button to proceed.
- Check Your Email: You will receive a verification email from Endura. Open the email and follow the instructions to verify your account.
By completing these steps, you will successfully sign up for the Endura platform and be ready to start managing your ESG data.
Complete Your Profile
After verifying your account via the email confirmation, you will be guided to complete your profile on the Endura platform. Follow these steps to ensure your profile is set up correctly:
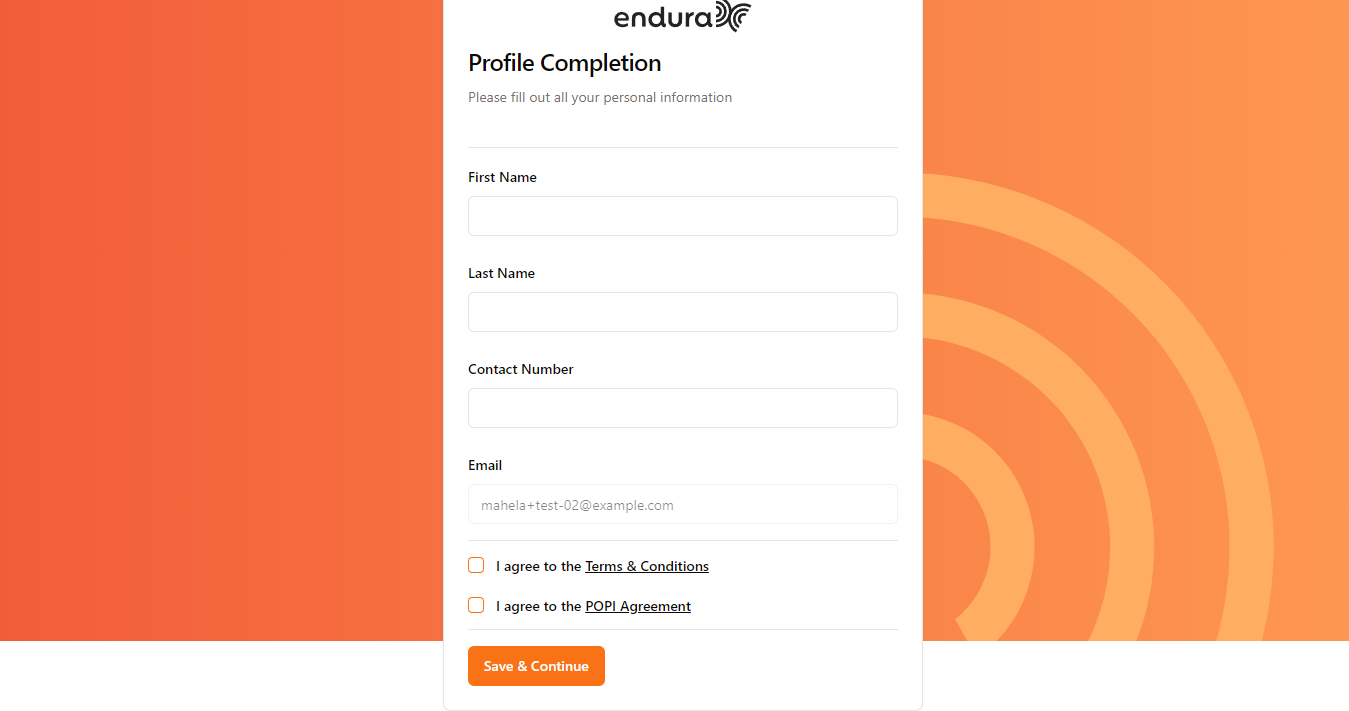
Step 1: Access the Profile Completion Page
- Navigate to Profile Completion: After verifying your account, you will be automatically redirected to the profile completion page.
Step 2: Enter Your Personal Information
- First Name: Enter your first name in the designated field.
- Last Name: Enter your last name in the corresponding field.
- Contact Number: Provide your contact number in the phone number field.
- Email Address: Your email address will already be pre-populated based on the email you used during sign-up.
Step 3: Review and Accept Terms
- Terms & Conditions: Read through the terms and conditions. Check the box to indicate your acceptance.
- POPI Agreement: Review the POPI (Protection of Personal Information) agreement. Check the box to indicate your agreement.
Step 4: Save Your Profile Information
- Click "Save and Continue": Once you have filled in all the required information and accepted the terms and POPI agreement, click the "Save and Continue" button to proceed.
Step 5: Proceed to Create Your Entity
- Redirect to Entity Creation: After saving your profile information, you will be directed to the create entity page, where you can set up your first entity on the platform.
By completing these steps, your profile will be fully set up, and you can move forward with using the Endura platform.
Creating an Entity on the Endura Platform
To create an entity on the Endura platform, follow these steps:
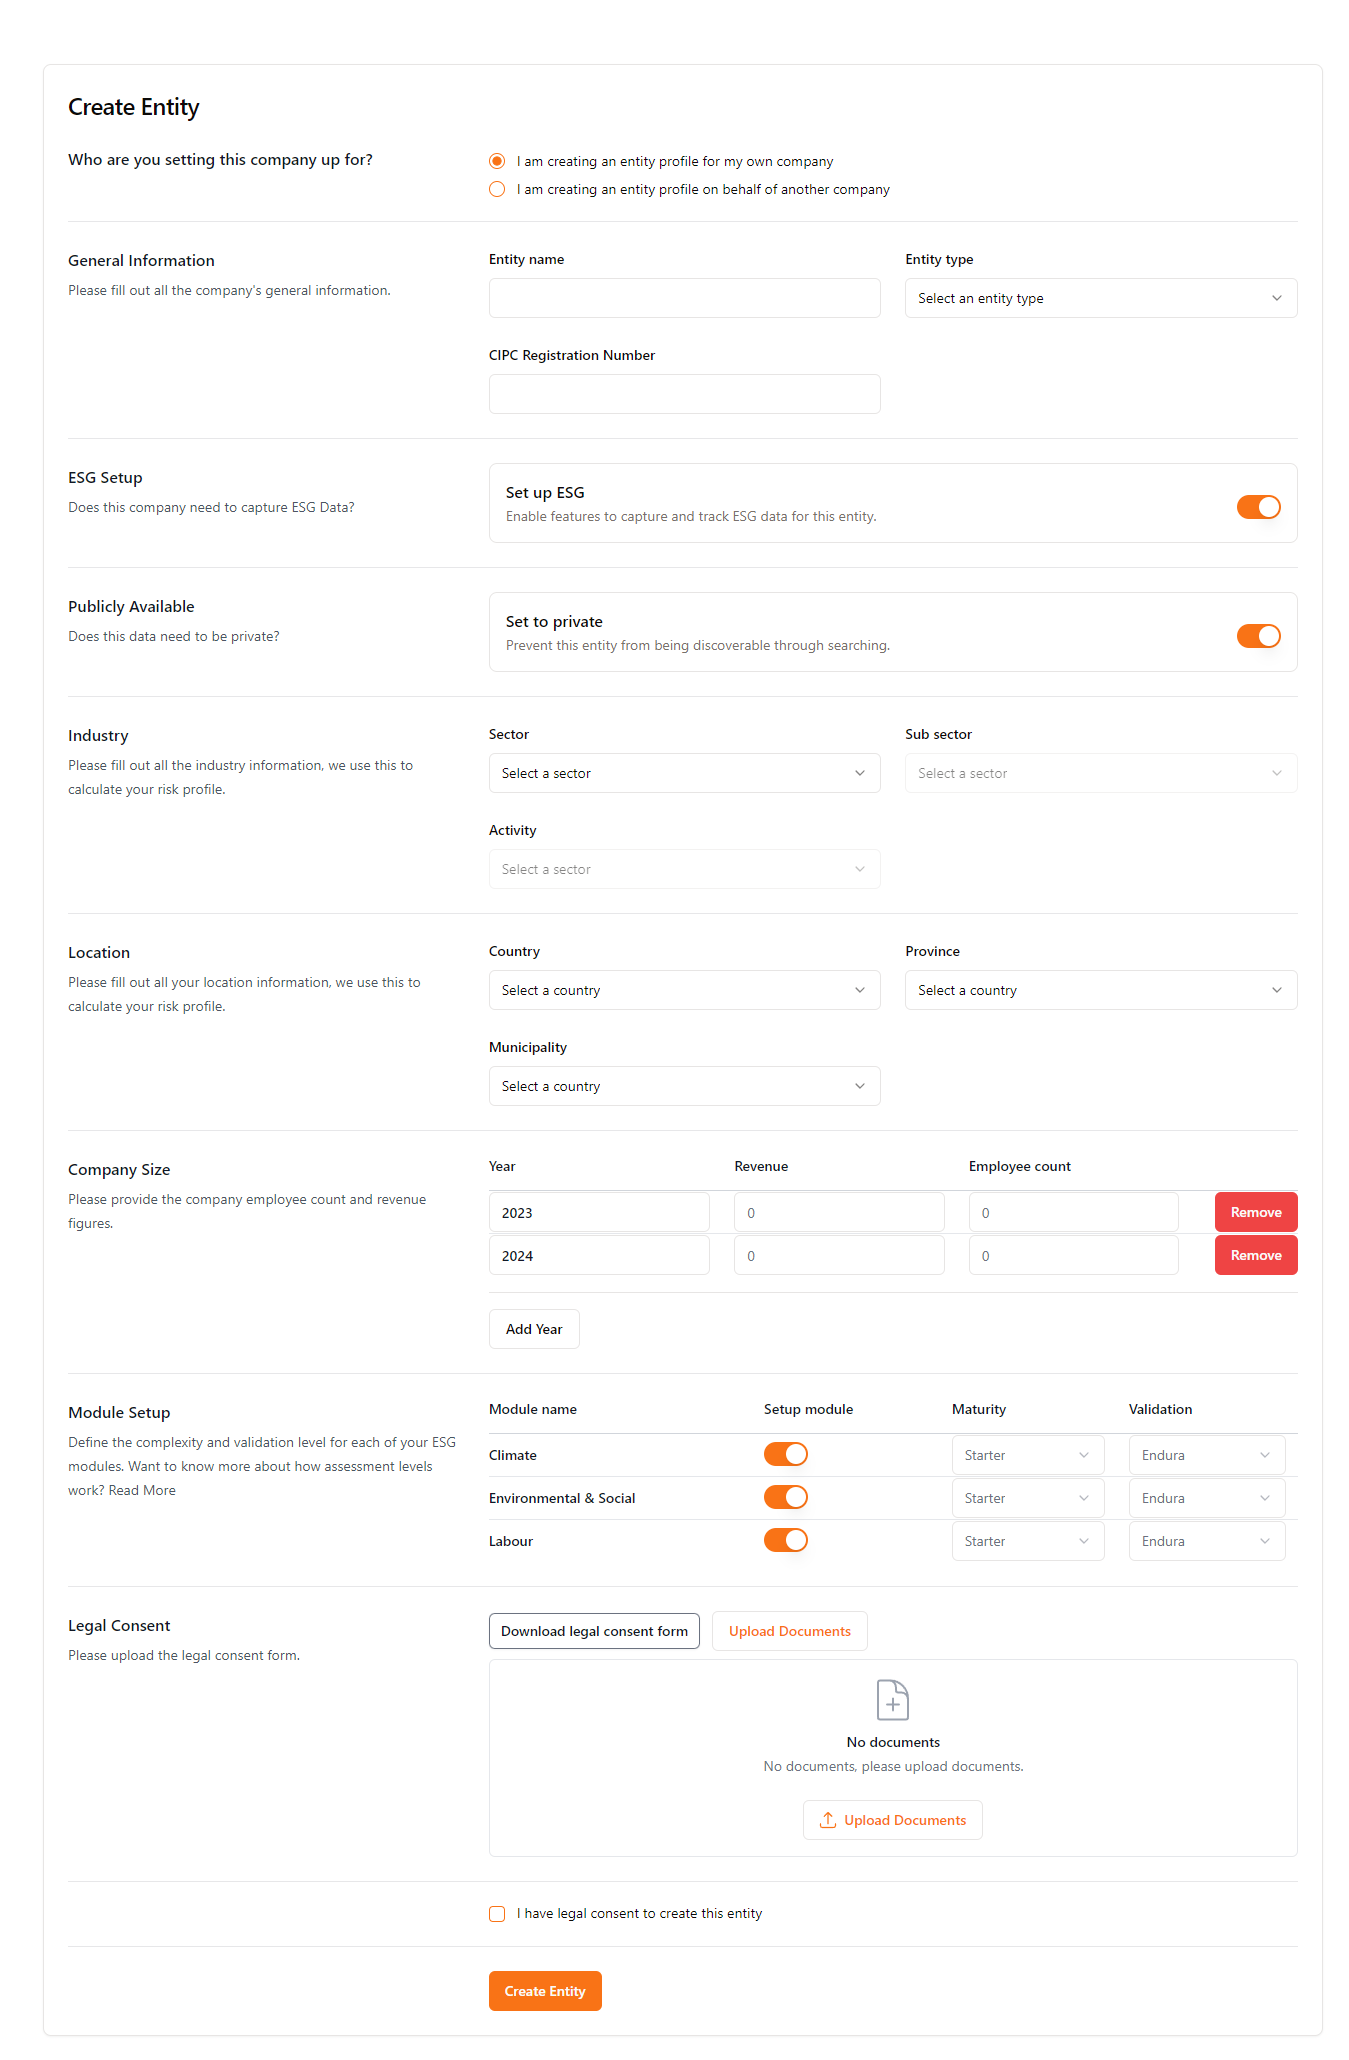
Step 1: Select the Type of Entity Profile
Choose Entity Profile: You will be presented with two options:
I am creating an entity profile for my own company
I am creating an entity profile on behalf of another company
Click on the bullet next to the option that applies to you. The selected bullet will be highlighted.
Step 2: Fill in General Information
- Entity Name: Enter the name of the entity you are setting up.
- Entity Type: From the dropdown menu, select the type of entity you are creating (e.g., Holding Company, Division, etc.).
- CIPC Registration Number: Enter the entity's CIPC registration number.
Step 3: ESG Setup (Environmental, Social, Governance)
- Toggle ESG Setup: If the entity will capture ESG data, toggle the switch next to "Set up ESG" to enable it.
- Publicly Available: If the ESG data needs to be private, toggle the "Set to private" switch.
Step 4: Provide Industry Information
- Sector: Select the appropriate sector for the entity from the dropdown list.
- Sub-sector: Choose a sub-sector if applicable.
- Activity: Select the entity's activity type from the dropdown.
Step 5: Enter Location Details
- Country: Select the country where the entity is located.
- Province: Select the province.
- Municipality: Choose the municipality from the dropdown list.
Step 6: Define Company Size
- Year: Use the "Add Year" button to select the year you want to enter data for.
- Revenue: Enter the company's revenue for each year.
- Employee Count: Enter the number of employees for each year.
- Remove Year: If needed, use the "Remove" button to delete a year.
Step 7: Set Up Modules
- Toggle Modules: Enable or disable the ESG modules you want to set up by toggling the switches next to each module (e.g., Climate, Environmental & Social, Labour).
- Maturity: Select the maturity level for each module from the dropdown.
- Validation: Choose the validation type for each module from the dropdown.
Step 8: Legal Consent
- Download Legal Consent Form: Click the "Download legal consent form" button to download the necessary form.
- Upload Documents: Click the "Upload Documents" button to upload the signed legal consent form.
- Legal Consent Confirmation: Check the box next to "I have legal consent to create this entity" to confirm you have obtained the necessary legal consent.
Step 9: Create the Entity
- Create Entity: Once all the required fields are completed, click the "Create Entity" button to finalize the entity setup.
After following these steps, your entity will be successfully created on the Endura platform
Log In
Logging In to the Endura Platform
To access your Endura account, follow these simple steps to log in:
Step 1: Access the Login Page
Enter the Endura platform's URL into the browser's address bar and press Enter.
Navigate to the Endura Login Page by selecting "Log in" on the landing page.
Step 2: Enter Your Login Credentials
- Email Address: In the designated field, enter the email address associated with your Endura account.
- Password: In the password field, enter the password you created during the sign-up process.
Step 3: Log In to Your Account
- Click "Continue": After entering your email and password, click the "Continue" button to access your account.
- Two-Factor Authentication (if enabled): If two-factor authentication (2FA) is enabled on your account, follow the on-screen instructions to complete the verification process.
Step 4: Start Using Endura
- Access Your Dashboard: Once logged in, you'll be directed to your Endura dashboard where you can start managing your entities, portfolios, and ESG data.
By following these steps, you will successfully log in to the Endura platform and gain access to all its features.
Forgot Password
If you've forgotten your password, the Forgot Password function allows you to reset it and regain access to your Endura account.
Follow these simple steps to reset your password:
Step 1: Access the "Forgot Your Password?" Page
- Navigate to the login page of the Endura platform.
- Click on the "Forgot your password?" link located below the login form.
- You will be redirected to a page prompting you to enter your registered email address.
Step 2: Enter Your Email Address
- Enter your email address associated with your Endura account in the provided field.
- Click Continue to receive an email with instructions to reset your password.
- If you remember your password or wish to cancel the reset process, you can click
Back to Endura Web App to return to the login page.
Step 3: Check Your Email
- After submitting your email, you'll receive a message prompting you to check your inbox for a password reset link.
- Open the Reset Password email sent by Endura. If you don't see the email in your inbox, check your spam or junk folder.
- Note: If you don't receive the email within a few minutes, click Resend email on the confirmation page.
Step 4: Confirm Password Reset
- In the email, you'll see the message: "You have submitted a password change request!"
- Click the Confirm button in the email to continue with resetting your password.
Step 5: Reset Your Password
- You will be redirected to the Reset Password page in your browser.
- Enter your new password in the "New Password" field.
- Confirm the new password by entering it again in the "Re-enter New Password" field.
- Click Reset Password.
Step 6: Password Successfully Changed
- Once your password has been successfully changed, you'll see a message: "Password Changed! Your password has been changed successfully."
- Return to the login page page and log in with your new password.